Putting together an Adventure Bike

HELPFUL HINTS TO PUT TOGETHER YOUR FIRST ADVENTURE WEAPON
Words and Images: James Raison
There’s no better evidence that cyclists are bonkers than the fact that riding your bike really far and sleeping in the dirt is not only desirable but potentially very expensive. Add the sunburn, terrible smell, sore arse, and funny looks from regional townsfolk and you have to ask why the hell anyone does it. Oh yeah, because it’s friggin’ amazingly good fun! I love adventure riding.
2019 has been the year of adventure biking for me and I’ve learned some good, bad, and expensive lessons about how to do an adventure build. So I wanted to distill my wisdom and stupidity into a guide/tips article to help other people who are also looking to take the plunge into living like a vagrant. Hopefully I can save you some money and heartache! This might not be so useful to the grizzled adventure veterans who catch fish with their bare hands and sleep on a small tarp in the open air, so feel free to add your own tips in the comments below.

CHOOSE YOUR FIGHTER
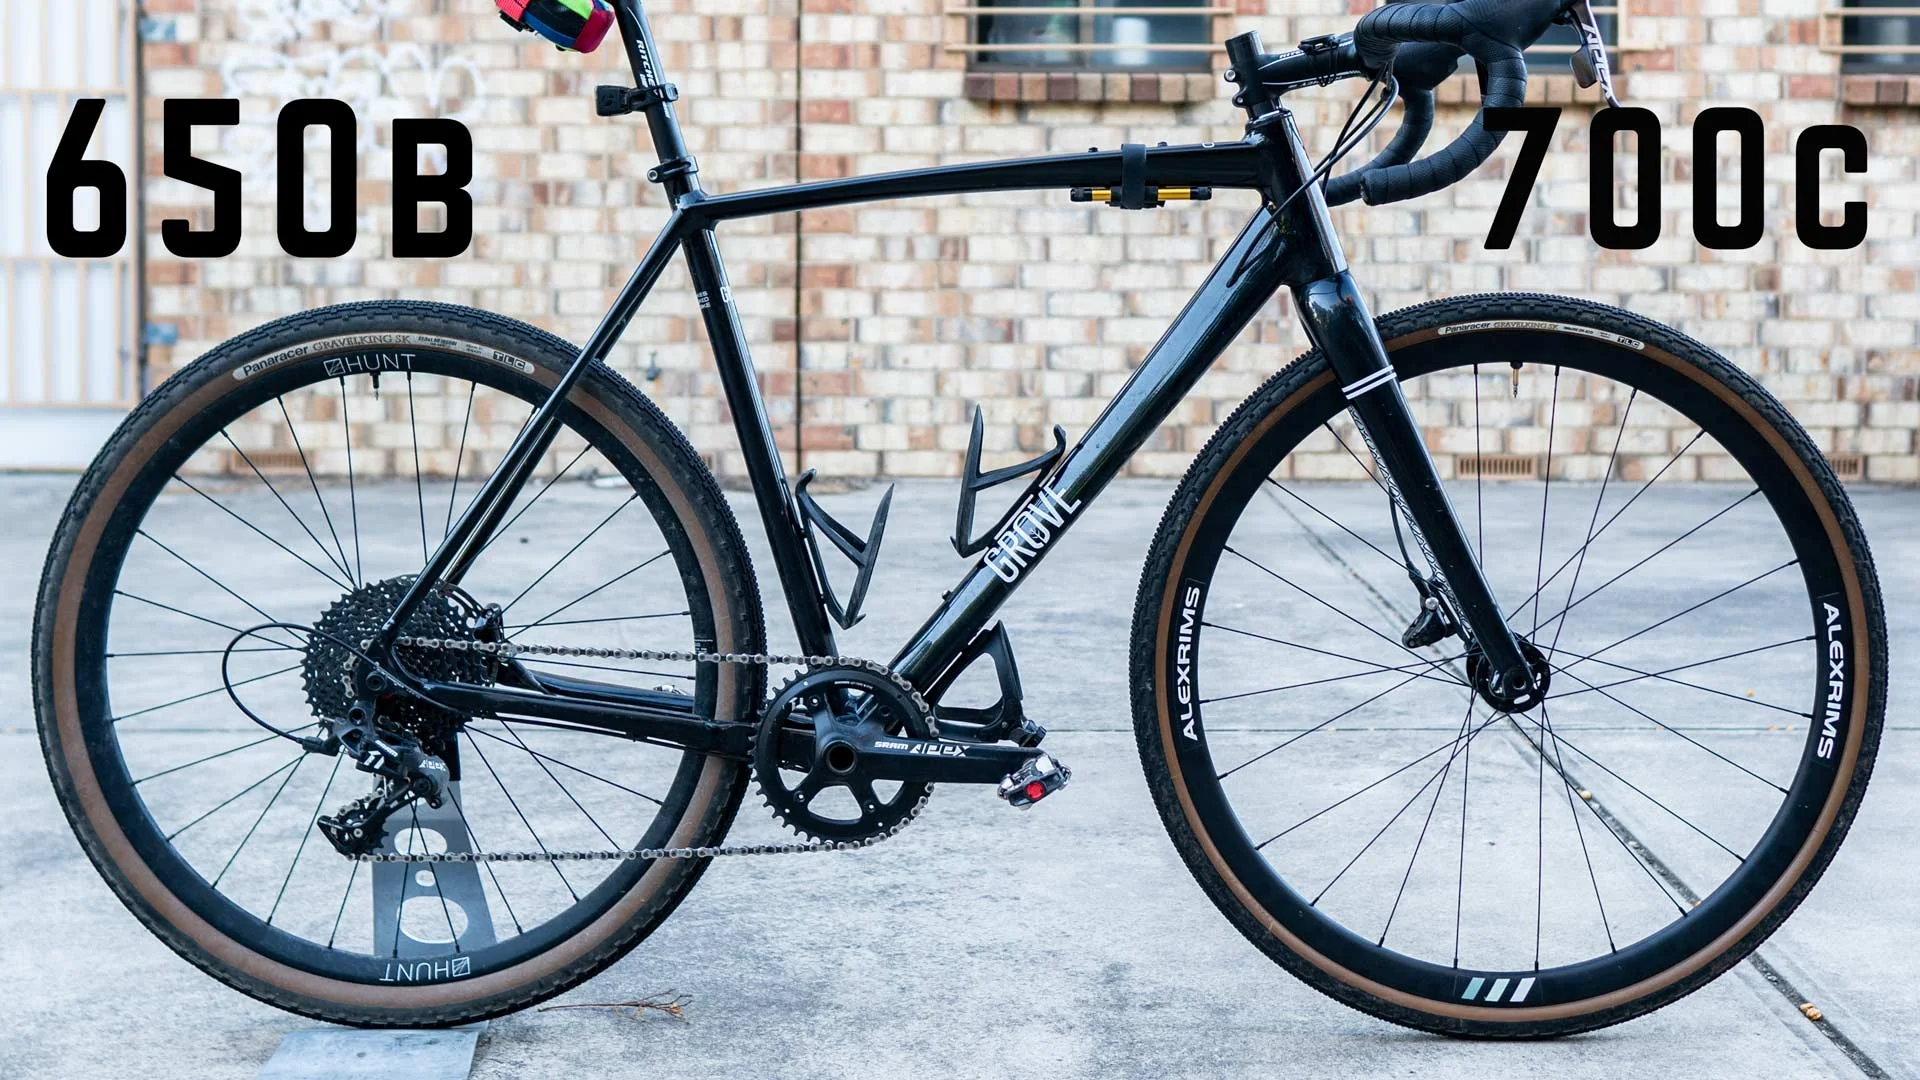
Adventure biking is one of the most equitable and democratic disciplines of riding. You can start with a 29er MTB, a CX bike, a gravel bike, or a dedicated build made for the adventure discipline specifically. One bonkers fella messaged me to say he’d ridden the whole Mawson Trail on a Curve Belgie Spirit road bike he’d wedged gravel tyres into. Very brave indeed! It’s not so much a matter of “right or wrong”, rather choosing a base bike that’s most appropriate for what you want to do. Choose a bike according to the terrain, what surface you’re targeting, and factor in how capable and confident you’ll feel when riding on it fully laden. Or you can be entirely nutty and choose something wildly inappropriate to enhance the adventure.
BUDGET
Pick your bike budget, then buy a bike that costs about $1000 less. I know, you want to throw all your cash at the sweetest rig you can but flippin’ heck adventure builds go through more money than large scale government infrastructure projects (you and your NBN owe me some goddam megabits Malcolm!). Sorry for people baffled by that reference, it’s an Australian thing.
All of the adventure accoutrements add up absurdly fast. Bike bags? $500 to get everything you need. A decent sleep setup? Anywhere from $200 to $1,500 depending on how well you want to sleep and how dry you want to be. Then there’s the small things; lights, incidental straps, spares, tools, and the clothes to cover you for a range of conditions. Factor $400 for that to be safe.
Hopefully then the build you want is available in a cheaper version with a lower spec drivetrain and some heavier wheels. Honestly, your drivetrain just needs to be well maintained when it comes to adventure biking. Everything gets worn out, filled with dirt, filled with water, and inevitably filled with mud because the weather gods thoroughly hate your bearings. Also, a couple of hundred extra grams of wheel weight won’t be noticed when you’re riding a 20kg+ loaded bike.
Un-learn everything if you’re coming from the road scene to adventure biking. Aero is nothing, carbon isn’t necessary, ugly is the new beautiful, and stem spacers are your friend.

FORK MOUNTS ARE ESSENTIAL
Those buying a bike off the shop floor can do themselves a massive favour by getting something with fork mounts. Even if you don’t think you’ll use them, you should still have them as an option for the future.
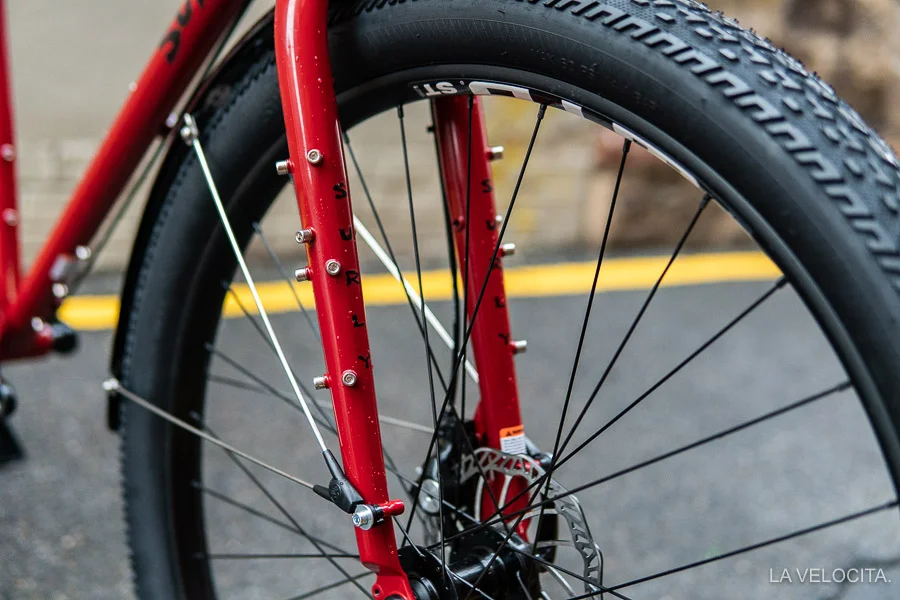
There’s not much you can’t mount on this Surly Ogre fork
Fork mounts give you so many options for storage. Move your bottles out of the frame triangle and onto the fork to free up some prime real estate for a big bag. Or, chuck some big ‘ole cages on the fork to add some carrying capacity. Cages like the Blackburn Outpost and Surly Anything Cage can hold a surprisingly large dry bag, or a magnum of wine if you’re keeping it classy.
INVEST IN A GOOD NIGHT SLEEP
Choosing your sleep setup is tough. You’re balancing comfort, weather protection, and size when packed. As with all things in cycling; lighter, smaller, and warmer will generally mean a bigger hole in your bank account.
Many try and live dangerously with their sleep setup; optimistically choosing gear that’s likely fine in their ideal expected climatic conditions. You might get away with that approach but you might also find yourself shivering in a puddle beneath a tree making worrying noises in strong winds. In those moments you’ll think about the warm and waterproof gear you didn’t buy, and how much extra you’d pay for it right now. You’re very unlikely to regret that your bivvy bag or tent are too good for the conditions.

An adventure biking shanty town we made
Adventure biking can be exhausting and sleep is essential to your riding ability and enjoyment. A comfy and compact inflatable mattress and pillow can make a world of difference to your sleep quality without taking up too much space. A toasty warm sleeping bag is the same. Calculate the expected minimum in the area you’re riding in, then choose a bag that is rated for around 5 degrees colder. The beautiful and coldest hour around dawn is usually when you find out if you’ve purchased the right gear. Numb toes are a sign that you haven’t.
For those who are curious I have a Sea To Summit Spark sleeping bag and inflatable pillow, Klymit static V2 mat, and Kathmandu XT bivvy. It’s a good mix of comfort and shelter for the adventures I like which tend to avoid winter for obvious reasons.

My lovely mobile hotel room
SYNC TYRES WITH YOUR RIDING MATES
Like all things, adventure riding is best enjoyed with friends and there’s heaps of gear efficiencies to be found with running similar tyre setups. Being able to share spare tubes can get you out of multiple tough situations. I was rocking 27.5x2.8” on the Mawson Trail alongside a group with 700c wheels and a couple of 29ers. The only spare tubes I could get were my own and rural bike shops are veeeery unlikely to stock that size. Naturally, I had the most problems with my tyres and came within a puncture or two of potentially abandoning the trip.
Sharing can run the risk of causing resentment because that one jerk in your group has had 7 punctures and now everyone’s out of spares. So be sure to share conscientiously.

My very own beloved Bombtrack Beyond + 2
TUBELESS IS A VERY GOOD IDEA IF YOU DO IT RIGHT
In a perfect world tubeless tyres are set-and-forget. Keep them topped up with air and sealant, and ride into the sunset aboard your plush riding, puncture-free steed. Naturally, the world isn’t perfect but tubeless done well reduces puncture problems significantly. Also, tubeless tech is far more mature on MTB/adventure bike parts so don’t let the troubles with road tubeless tarnish your perceptions.
For bonus smarty-points figure out your sealant well ahead of time. Don’t choose what’s new and sexy in bike shop display cases, pick what the mechanics are using behind the scenes so you get an idea of what’s common. Once again, try and get everyone in the group to run the same sealant so you can share. Bog standard Stans sealant is widely available, affordable, and very popular. Don’t be the only person in your group running Muc-Off - like I did - when everyone else has the same. Generally, sealants tend to hate each other so mixing isn’t an option.

DYNAMOS AREN’T ALWAYS MANDATORY
I got a lot of flack a couple of years ago for making a YouTube video about bikepacking without a dynamo. The reality is that setting up a dynamo wheel is expensive and only necessary for properly remote adventure riding. Those going off grid should definitely get a dynamo setup. Those regularly passing through, or sleeping in towns, can get away without one.
How, I hear you ask? A cheap and cheerful USB power bank will get the job done. I’ve used 16,000 mAh and 10,000 mAh Xiao Mi batteries for my bikepacking and adventure riding and they were great! Pair one of those with a 2-port USB wall charger and you can charge 3 devices and the battery at the same time. It’s simple: one USB plug output goes into the battery, one into a device, then there’s two USB out ports on the battery itself that can charge devices all at the same time. So when you wake up, everything is juiced up! It’s a slow way to charge things but effective when done over night.
THE LIGHTNING ROUND OF RANDOM ADVICE
Don’t scrimp on a tiny road pump that’ll take 30 minutes to fill your tyres and then pull out your valve cores (goddam you Lezyne Micro Drive!). Decent pumps will save a lot of heartache. Something like the Bontrager Mini Charger is well worth the extra bulk
Tiny backpacks are awesome. I have a stuffaway Sea to Summit bag that’s the size of an egg when collapsed and is awesome for ferrying food after a big supply stop.
Tins of spaghetti and baked beans are cheap, available everywhere, and perfectly palatable without being cooked.
A sewing kit and some fishing like can fix a bunch of different problems. From torn clothes, to ripped bags, and even badly gashed tyres. Learning to sew can be a big help.
A titanium mug dangling off your seat bag gives you +50 awesome points.
Extra credit reading:
Head over to Cycling About and Bikepacking.com because those sites are amazing and have incredible content